Microsoft Word has a “feature” that compresses your images to 220ppi after saving. This saves file space for your documents, but images at this resolution do not meet Graduate School requirements for printing. This tutorial will show you how to turn off this feature for a single document.
We recommend doing all image editing in a program dedicated to that purpose, such as Photoshop, before inserting images into your Word document. Images must be at least 300ppi unless they are screenshots. Screenshots are only allowed when absolutely necessary to convey the information. All images must also be clear and readable. Increasing the resolution of a low resolution image to 300ppi will not be acceptable.
First, click on the File Button and select “Options” from the left hand menu.

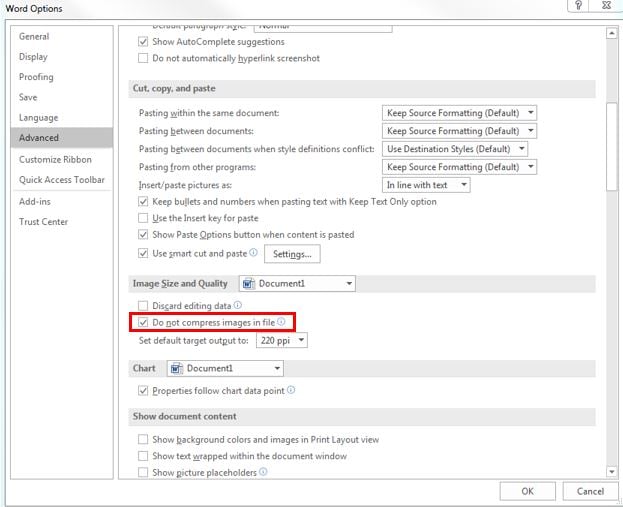
Click on “Advanced” tab from the word options and check the “Do not compress images in file” option as highlighted below in red box.
Delete the pictures that were compressed, and reinsert them using the “Picture” command on the “Insert” tab of the ribbon.