Tag: MS Office

Embedding fonts in Microsoft Word

Embedding fonts in a dissertation or thesis is a requirement for ProQuest and the Graduate School.  We recommend using Adobe Acrobat to embed fonts for files created in Microsoft Word.  If you do not have access to Adobe Acrobat, this alternative method will allow you to embed fonts directly from Microsoft Word.

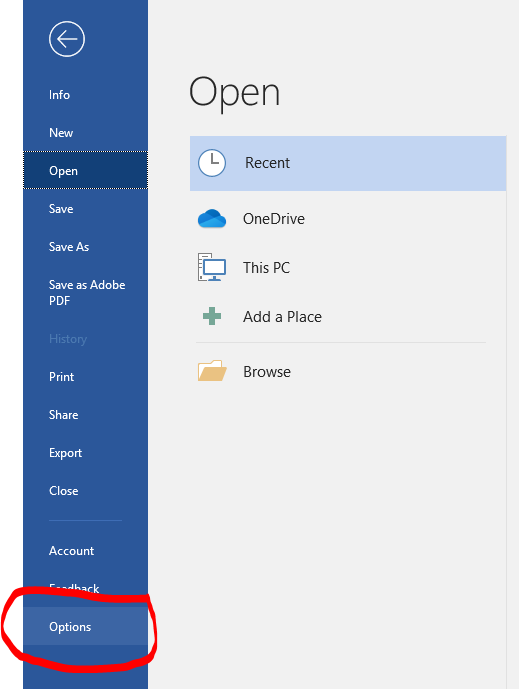
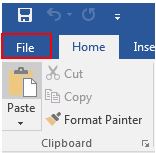
Step 1. Click the file tab at the top of the page and select the “Options” menu from the bottom left.

Screen shot showing how to navigate to Word Options.

How to check PDF conversion settings for images and embedding fonts

Creating high quality images and embedding all fonts are two requirements of creating a thesis or dissertation.  These two requirements will ensure that your document is presented at the highest quality and that the document appears the same on any computer, regardless of the fonts that are available.  This tutorial will show how to check and select the conversion settings in Word to make sure your document meets the requirements.

How to create bookmarks using Word and Adobe Acrobat

Having bookmarks that replicate the table of contents (TOC) is a helpful feature to navigate a thesis or dissertation.  Bookmarks allow the reader to see a TOC wherever they are in the document, and navigate easily to that section of the document.  This tutorial will show you how to create bookmarks using Word and Adobe Acrobat on the PC. This tutorial assumes that you are using the Graduate School’s template to create your dissertation or thesis.

How to turn off image compression in Word

Microsoft Word has a “feature” that compresses your images to 220ppi after saving.  This saves file space for your documents, but images at this resolution do not meet Graduate School requirements for printing.  This tutorial will show you how to turn off this feature for a single document.

We recommend doing all image editing in a program dedicated to that purpose, such as Photoshop, before inserting images into your Word document.  Images must be at least 300ppi unless they are screenshots.  Screenshots are only allowed when absolutely necessary to convey the information.  All images must also be clear and readable.  Increasing the resolution of a low resolution image to 300ppi will not be acceptable.

First, click on the File Button and select “Options” from the left hand menu.

Click on File option at the top left corner.
Click on File option at the top left corner
Select Options from the pop up menu.

How to edit a style

Styles apply a common set of formatting to a paragraph within Word.  In a previous post, we showed how to apply a style to a paragraph.  This tutorial will show two ways to edit an existing style.

First, edit the text as you desire.  In the example below, I have edited the text “Introduction” to be a different font (Adobe Garamond Pro Bold) and size (24 point) than the original Heading 1 style.  We can tell Heading 1 is applied to this text because it is outlined in orange in the Style section of the ribbon.

Edit the text to meet your specifications.

How to apply a style to a paragraph

Styles in Word are used to format text consistently throughout your document. Each paragraph may have a single style applied to it.  For each paragraph, styles define the:

  • Appearance of the text (bold, bulleted, size, font, etc.)
  • Behavior of the paragraph (does it stay with the next paragraph?  Have a page break before it?)
  • Structure of the document (is this a heading meant for the table of contents?)

Styles are found on the Home tab of Word, in the Styles section (boxed in the figure below).

The Styles section on the Home tab contains all of the built in styles available for use.