In our previous posts, we’ve shown how to apply, edit, and create styles. This tutorial will show you how to display the styles used in your document in draft and outline view. This can help you easily troubleshoot why incorrect items are appearing in your table of contents, for example.
First, click on the File Button and select “Options” from the left hand menu.

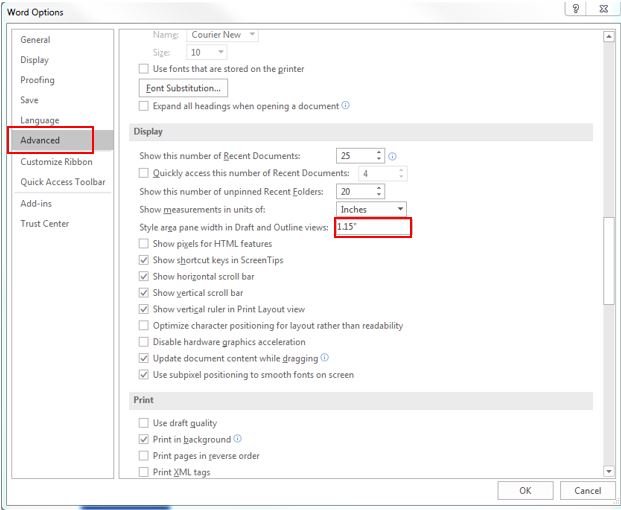
Select the “Advanced” tab from the list, and scroll to the “Display” section of the options. Type a number in the “” box – 1.15″ is a good place to start.
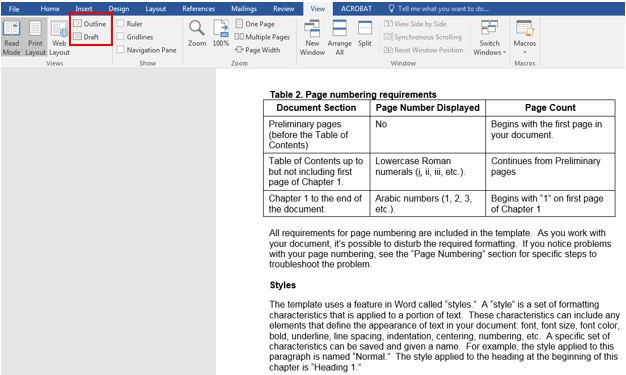
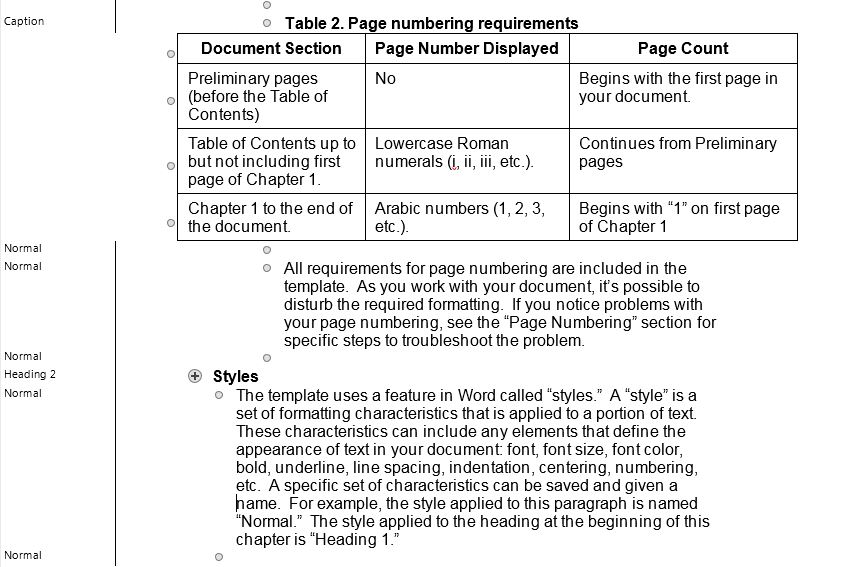
Using the View tab on the ribbon, select “Outline” or “Draft.” The screenshot below shows the outline view of a document. Note that the left hand panel now displays each style that is applied to the text. When you roll over the vertical line, your cursor will change so that you can click and drag to make that area larger or smaller.
Thanks to Word Tips for this excellent tip.