You can choose to add call-to-action buttons at the top of the footer on your website. You can choose to add just the Give button linked to a page of your choice, just the recruitment buttons with preset links, or all four. The default is no buttons. This is only available in the _props.pcf file within the root folder for your site or the folder where navigation is restarted.
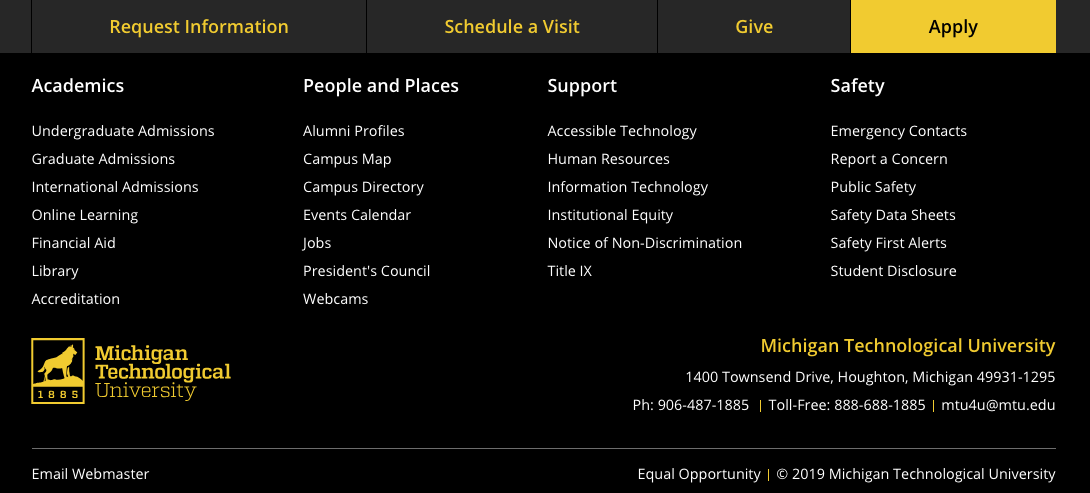
The Give button should be used when the website/department has its own Giving page. You can customize the page the button links to.
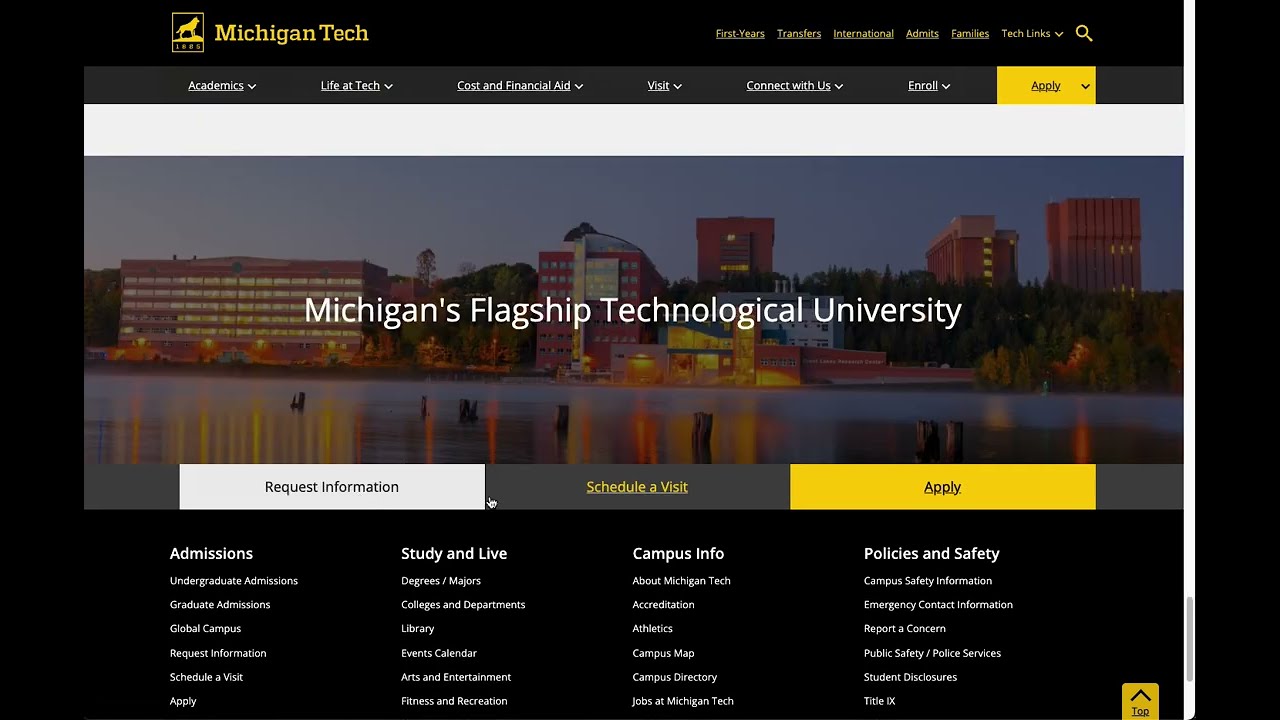
The recruitment buttons should be turned on if one of the main audiences of the site is prospective students. All academic departments should have these buttons turned on.
- Open the _props.pcf file in the root folder for your site.
- Go to Properties in the Page Actions Toolbar.
- Be sure you have the file checked out (if not, click on the lightbulb icon in the Page Actions Toolbar).
- From the Parameters menu on the left, find the “Site Footer Contact Information” section. The Call to Action Buttons fields are the last two items in that section.

- Select which button(s) you would like to display using the Call to Action Buttons dropdown.
- No Buttons

- All Give and Recruitment Buttons

- Give Button Only

- Recruitment Buttons Only

- No Buttons
- If you selected an option that includes the Give button, use the file chooser to select a page within your website that the button should go to. To link directly to the giving form, insert the form’s URL starting with /givenow… (do not include https://www.mtu.edu). If you do not indicate a Link, the button will go to the default Giving homepage.
- Click the blue Save button.
- Publish.


Play Footer Call to Action Buttons video