This snippet creates an embedded video or 360 image in your page’s main content area, additional content area, or right sidebar. To include a video at the very top of the page (known as the mediazone or hero area), follow the instructions for MultiEdit Content.
The size of the video/image will automatically adjust based on the location you insert it. A title and description can be included beneath it.
View embedded video/360 images in the Style Guide. Read more about video accessibility requirements.
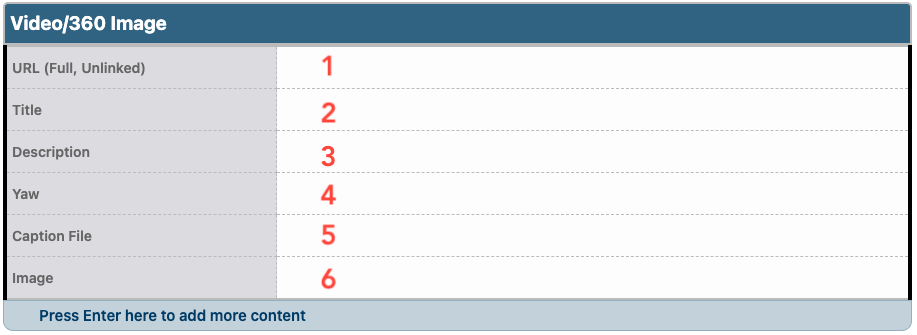
- Enter the YouTube, Vimeo, or Flickr URL in the URL field.
- All videos are required to have closed captions that meet the current accessibility standards.
- For a YouTube video, the URL must be the youtube.com format, not youtu.be. If you enter a playlist URL rather than an individual video, the snippet will display the first video of the playlist.
- If it is a 360 image, enter the Flickr URL, which can be found by clicking the image download icon, right-click on the Large option, and select Copy Link Location.
- If the video is not online and you have the video file, upload the file into the CMS, type the name of the file in the URL field, and link to it. The file type should be .mp4. If there is any audio, on-screen text, or other content that requires closed captions, you must include those captions for accessibility compliance. In that case, you must upload the caption file and thumbnail image in steps 5 and 6.
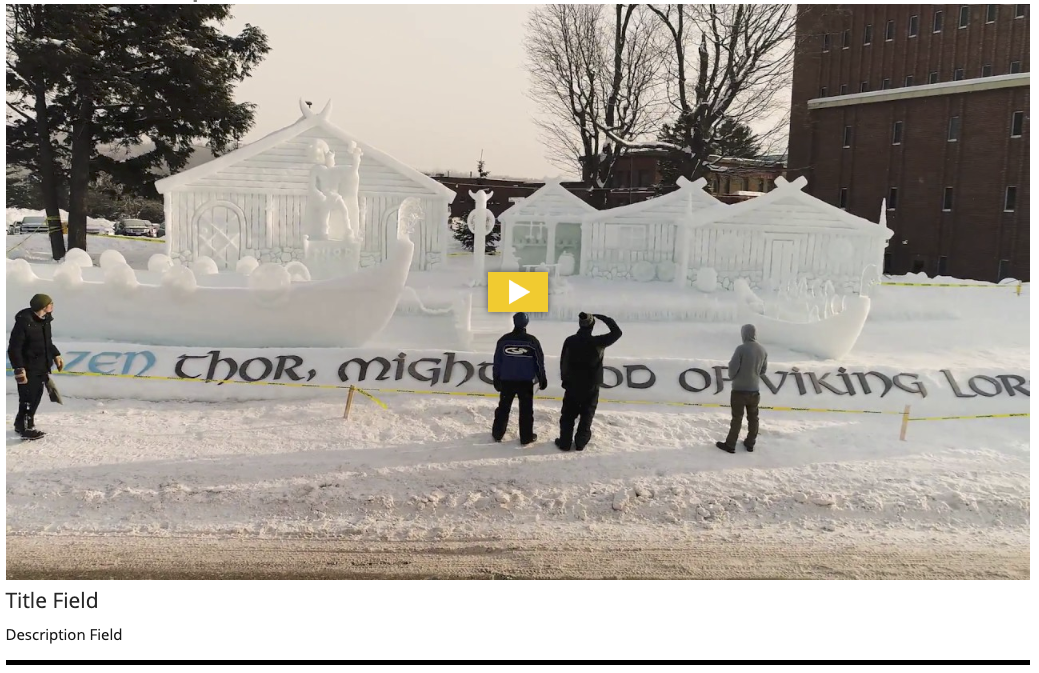
- Enter a title to display beneath the video in the Title field, if desired. This can only be used for video, not 360 images.
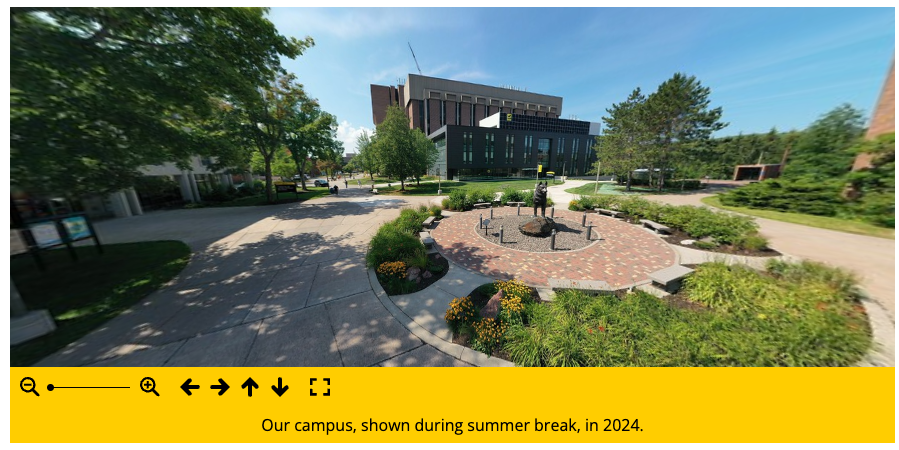
- Enter a description in the Description field to appear beneath the video or image, if desired.
- The Yaw indicates the angle that the 360 image starts at. By default, this is set to 50°. Enter a new angle to display instead. For example, if you enter 90, the starting point of the image will move 40° counter-clockwise from the original point (90-50=40).
- If you used an uploaded mp4 file in step 1, you must also upload the caption file. Upload the file into the CMS, type the name of the file in the URL field, and link to it. The file type should be .vtt.
- If you used an uploaded mp4 file in step 1, you must also include an image to use on the video embed. Play the video on your computer as full-screen. Pause and take a screenshot of the full-screen video at an appropriate time. Use the screenshot image to create a vertical image type using the Image Editor. Select the full image. Using the Insert/Edit Image icon
 , insert the largest size vertical that was cropped.