The Properties button in the Page Actions Toolbar near the top of the page contains information about the page. You must have the page checked out to you to see all the options.
MultiEdit Content is where you will set up the header image if you have turned it on in the Parameters. Select the MultiEdit Content option from the left menu in the Properties screen or by using the MultiEdit button at the top of the page edit screen.
The image or video set up here will only show up on the page if a Header Image Parameters option is selected on the Page Parameters screen.
Media Type
- Choose from
- Image Only
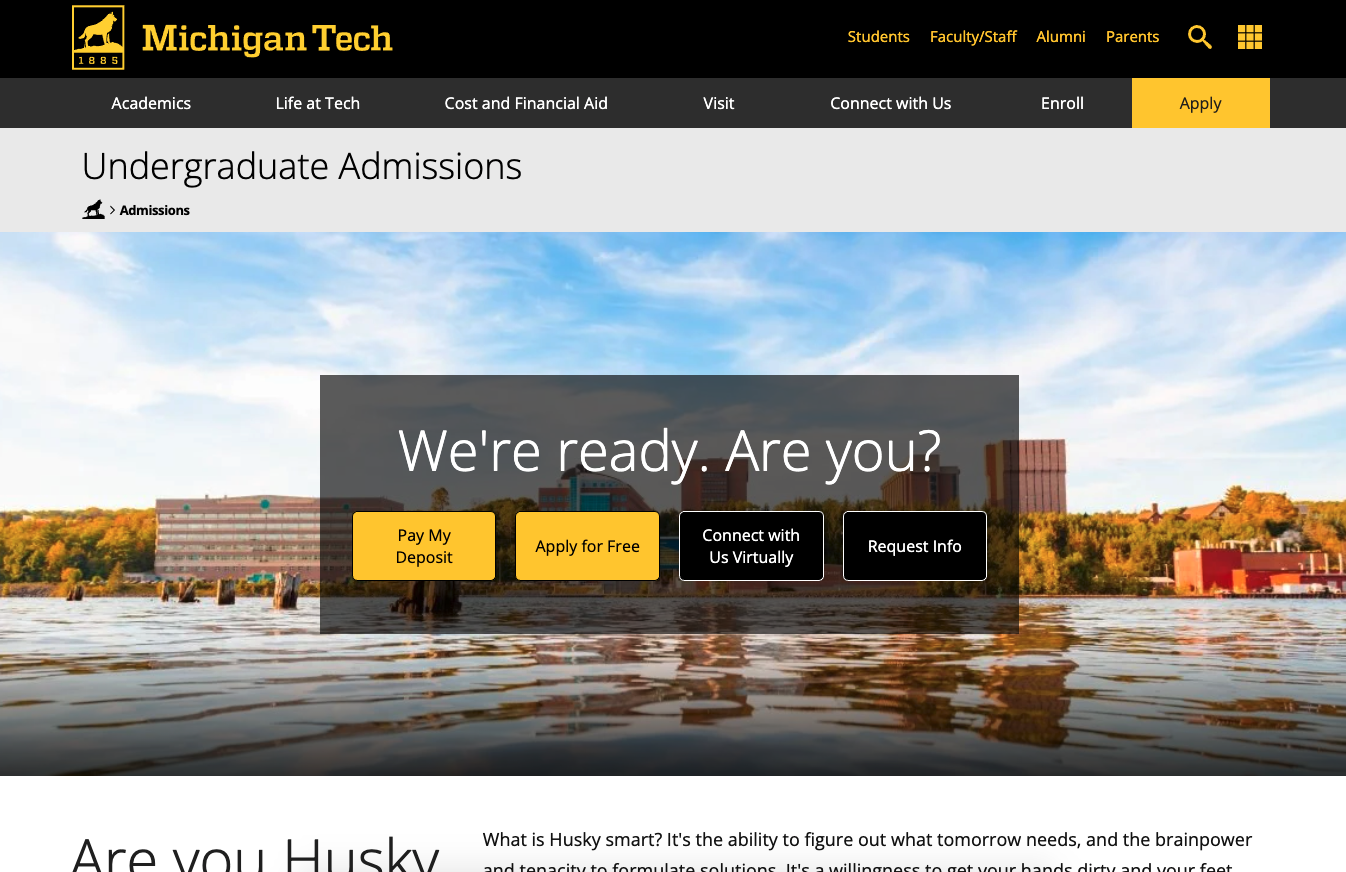
- Text Over Image—a darkened box will be displayed over the image with the content in Media Title as a heading and the content in Media Content below it. The box behind the text ensures that it meets accessibility compliance for color contrast. However, using a very “busy” image with stark color differences in it may still make it hard to read. Be sure to preview your layout before publishing.
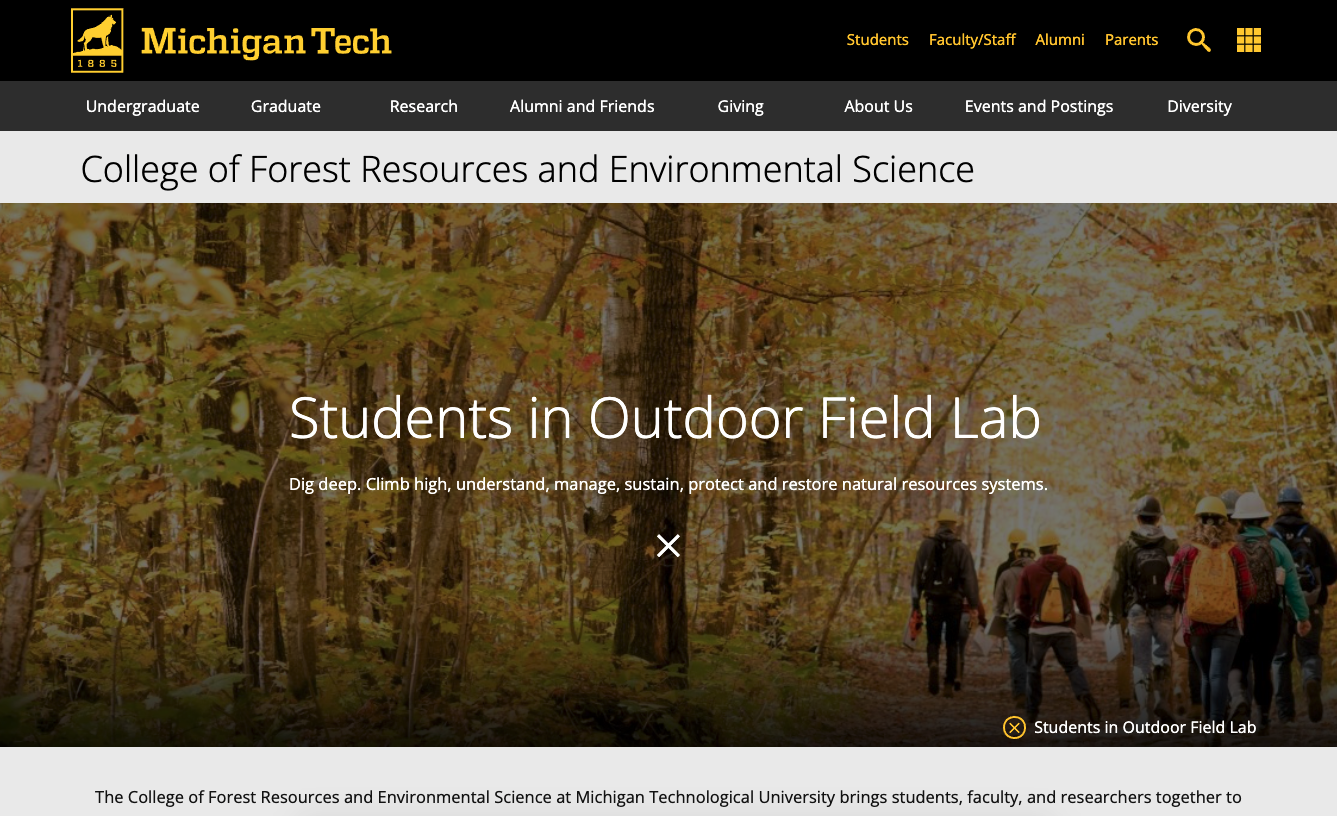
- Text Popup—a circled “i” icon will appear in the lower right of the image with text entered in the Media Title field shown next to it; when clicked a popup will open showing the text entered in the Media Content field.

An example of a page using the text pop-up with the pop-up closed. 
An example of a page using the text pop-up with the pop-up open. - Video—the video whose YouTube ID or URL is entered in the Video ID/URL field will appear in the header image location. You should still insert an image as well. This photo would be used when posting the page, such as on social media, and as the background when using the hero layout.

Header Image
For all Media Types, click the image icon next to this field to select the image that will be used when the page is shared on social media or the video is unable to display. Crop a Banner image type with the Image Editor and insert the largest size that was created. Never use the file ending with -orig. To avoid a pixelated image, the image must be at least 800 pixels wide for a Sub-Banner, 1024 pixels wide for a Banner, 1200 for a Feature, and 1600 for a Hero. When the Slim Header Image Type is selected on the Parameters screen, the image will be cropped to the center of it to display in the shorter image area.
Image Description
Alt text. This should be a description of what is in the image. It is used by screen readers to describe the image to the user.
Media Title
If you selected Text Popup, enter text in this field that will display next to the circled “i” icon. For Text Over Image, text entered here will be the large size. You can also use this field to display a title in a caption for the Video option.
Media Content
Enter content that will be displayed over the image if you selected the Text Over Image Media Type or in the popup if you selected Text Popup Media Type. You can also use this field to display a description in a caption for the Video option. You can include links, bullets, buttons and other formatting in this field.
Text Over Image Location
For a Media Type of Text Over Image, select an option for where the text will display on the image.
Video ID/URL
If you selected the Video Media Type, enter a YouTube video ID or URL for the video that will be displayed in the header image location.
Save your changes.
Notes to Remember
- You must also make a selection in the Header Image Parameters section on the Parameters screen for the header image to show up.
- If you are using a Media Type of Video, you should still also insert an image in the Header Image field, along with an Image Description, that would be used when the page is shared on social media or if the video cannot load.

