To remove content from a live site, pages and files must be moved to the Recycle Bin. Pages that are moved to the Recycle Bin can be restored, if necessary. When a page is recycled the published content is automatically removed. Once a page is deleted from the Recycle Bin or a folder is deleted, it can no longer be retrieved. Files that have been in the Recycle Bin for two years or more will be deleted twice yearly, in November and May.
If you are removing an entire folder, you should first check dependencies and remove all subscribers for all content items within the folder, then recycle the folder. Recycling an entire folder will not warn you of any dependencies for files inside.
Step 1: Check Dependencies
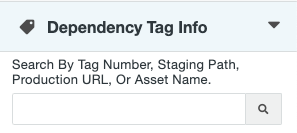
Before recycling or deleting content, you should always check to see what other pages or files are linking to that content. You can do this with the Dependency Tag Info sidebar gadget.
- In Pages List View, go to the folder where the page or file can be seen on the screen.
- Open the sidebar gadgets using the plug icon in the upper right corner.

- Open the Dependency Tag Info gadget.
- Type the name of the file you want to remove in the search box.
- For example, if you wanted to check on https://www.mtu.edu/umc/services/digital/, from within the /umc/services/digital folder you would search for index.pcf.
- Another example, if you wanted to check on https://www.mtu.edu/umc/services/pdfs/my-file.pdf, open the /umc/services/pdfs folder and search for my-file.pdf.
- Click the search icon.
- Information about the item will show up below the search box. For personnel items, be sure to click on the .html link to see the correct dependencies.
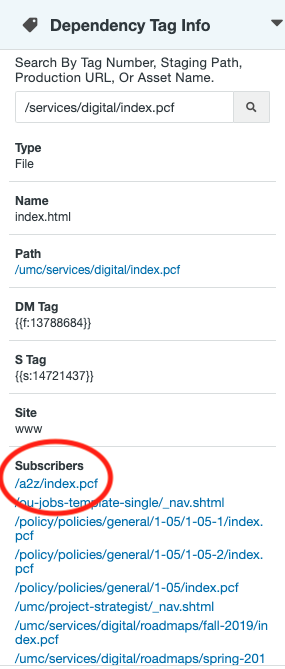
Subscribers are any other files in the CMS that are linking to the file you searched. Be sure to update those links or contact the web liaison for the site to let them know the page is being removed.
- If the Subscribers says “None” you can continue with the recycle process.
- If there is nothing listed, there are likely too many to display in the gadget. The full list of linking pages will show up after you first select Move to Recycle Bin.
Step 2: Recycle
From the Pages List View, click the … icon for that file, go to the File menu, and select Move to Recycle Bin.

Alternatively, you can select multiple items using the checkboxes then select Move to Recycle Bin from the top menu.
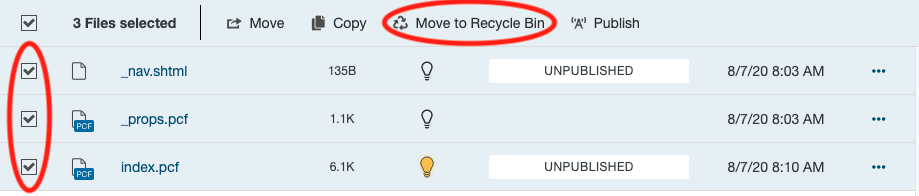
Be sure to read the message that pops up as it will tell you any other items in the CMS that are linking to this item. Those pages should have their link updated. If that page is not one you have access to, you should notify the web liaison for that site.
If you are recycling a personnel item and need it removed from the listing page right away, wait two minutes after recycling, then publish the listing page. Otherwise, the listing page will update automatically the next morning.
Once all files within a folder have been recycled, you can delete the folder.
Step 3: Request Redirect
Once your page is recycled, people with the link bookmarked will get a 404 broken page error. Google will also still have the page indexed and it will show up in search results for up to a few weeks.
To avoid this issue, you must request a redirect. When a redirect is in place, anyone going to the old, recycled URL will be automatically moved to a different, working URL.
To have a redirect put in place, please email webmaster@mtu.edu with the old URL that you have recycled and the new URL that it should be redirected to, like this:
Old URL: https://www.mtu.edu/directory/old-folder-name/
New URL: https://www.mtu.edu/directory/
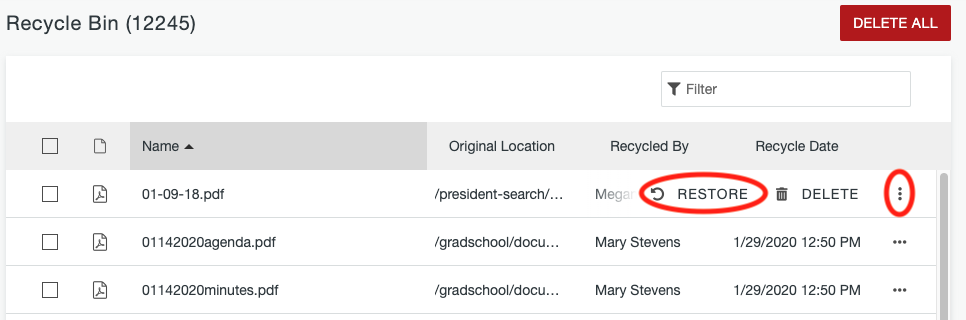
The Recycle Bin and Restore
To restore items, the Recycle Bin can be found under Content in the Global Navigation Bar.

Find the item(s) you want to restore from the list or by using the filter on the Name or Original Location.
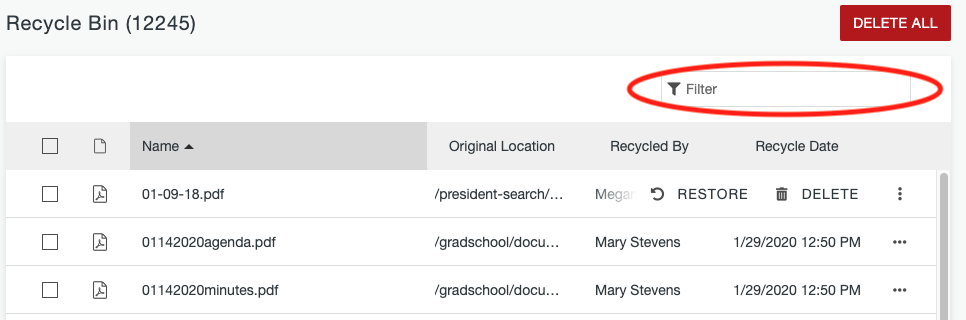
You can hover over a single item and select Restore or select multiple items using the checkboxes then select Restore from the top menu.

Once restored, the files will be in the original folder path, but will not be live. You can make any needed edits, then publish the content to make it live again. Because a redirect should have been put into place when the content was recycled, be sure to request those redirects be removed by emailing webmaster@mtu.edu.