Assets are pieces of content that are saved in a central location that can be used on multiple pages or on multiple sites. They should be used when you have identical bits of content on more than one page. If the asset content is changed, that change is applied to all pages using it. You do not have to try and find all the pages with certain content or risk missing a page and having conflicting/different information across your website.

Asset Introduction
Insert an Asset
To insert an asset, click the asset icon, ![]() select the asset you want to use, and click Insert. The actual asset content will not be visible while you are editing. You will be able to see it from the preview.
select the asset you want to use, and click Insert. The actual asset content will not be visible while you are editing. You will be able to see it from the preview.

Asset Insert on a Page
Some University-wide assets have already been created for you to use including university-wide touts.
Create Assets
Assets can be created by selecting Assets from the Content menu in the Global Navigation bar.
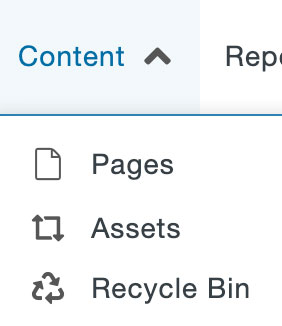

Assets Section
You can create an asset for content that will be used on multiple pages, within your site or among other sites, so you don’t have to recreate it each time you use it and so that all instances of it can be updated at once. There are five types of assets that are available:
- Web Content: the most common type. This shared content asset can include styling, such as headings, links, and snippets.
- Plain Text: as it sounds like, this is only text. The styling of the text is inherited from the webpage it is inserted into. This only has a few limited uses and you are typically better off using a Web Content asset.
- Source: should not be used.
After creating the asset, you must publish it before it can be used on pages. When you edit an asset and publish it, the page(s) that are using the asset are automatically published.
Edit an Existing Asset
When an asset is used on your page, it will appear similar to the following screenshot in the editor screen of the web page.

- Make note of the title listed in bold.
- Go to Content > Assets in the Global Navigation Bar.
- Use the filter field at the top of the screen to type in text from the title of the asset to find the correct asset.
- Open the asset by clicking on the name in the listing.
- Check out the asset by clicking on the lightbulb icon.
- Go to the Edit tab.
- Edit the content.
- Save your changes using the Save button at the top of the screen.
- Publish the asset. This will also publish all pages that are using the asset so they will be updated.

Asset Edit Existing
Tip: As a shortcut to get to the correct Asset and begin editing, you can use the link in the Page Info sidebar gadget under Dependencies.