You may need to rearrange content on your website to meet strategic goals or due to a department reorganization. Decisions should be based on analytics, research, or other data-based factors. There are some key steps to this process to ensure it goes smoothly and that all changes are reflected in the final redirects to avoid frustration for users searching or using bookmarks.
When you are planning and preparing for the updates, there are some tools that may help:
- Site Map: Email webmaster@mtu.edu to request a sitemap of your current site that lists all pages and files on the live website. Please note, the sitemap will only list content that is linked to within your site. It will not contain any hidden or unlinked pages or files. You can use the sitemap to help account for all of the content in your final layout and to provide a list of the current existing URLs to populate the redirects list later on. Download a sitemap example.
- Google Analytics: Refer to your Google Analytics to help make data-based decisions on what your users are looking for to help determine the final layout of your updated site.
- Crazy Egg Analytics: If you prepare in advance, you can request Crazy Egg analytics for a single page, usually your homepage, to help determine users’ habits on the page. The data gathering runs for up to 60 days and provides visual data about clicks and scrolling. A limited number of pageviews is available each month, so you can only request one webpage at a time and scheduling will be dependent on the number of snapshots already running.
Once you have determined your new navigation layout it’s time to start making updates in the CMS. It is highly recommended that you have your new navigation layout, including all sublinks, written down, either by hand or electronically in Google Sheets or another program.
Step 1: Create New Pages
If you are adding brand-new content to your site, create the new pages in the appropriate sections. Add all of the content to the pages and publish them. At this step, you can leave them out of the navigation (choose No for the Add to navigation section when creating). They will be hidden from your users until you update the navigation files in the next step.
Step 2: Update the Navigation Files
Start by updating each navigation file with the new links. Begin with the main nav file in the root folder and edit it to match the desired tabs across the top bar. Update link text as needed. Move on to the first tab and update the links that will show up below it in that section’s navigation file. Continue through the tabs, updating the navigation files. You can publish these as you go. When you are done you will see the updated navigation on your live website. Keep in mind, that when you go to these live pages at this point, the left navigation may not match the final location of the page since it has not yet been moved.
Step 3: Move and Rename Folders and Files
Remember, at the end of the project, you will need to provide a list of all URLs that changed during the process so that redirects can be put in place. Each time you move or rename any files or folders, make note of the change. The sitemap can be used for this by entering the new URLs next to the listed URL each time you do a move or rename in the CMS. If you do not have a sitemap, you can create a Google Sheet with one column listing the old URL and a second column listing the new URL.
Each page section should live in its parent section based on your navigation structure in order for the left navigation to appear correctly. For example, if you move a link within the navigation from the third tab to the first tab, you should also move that page’s folder within the CMS.
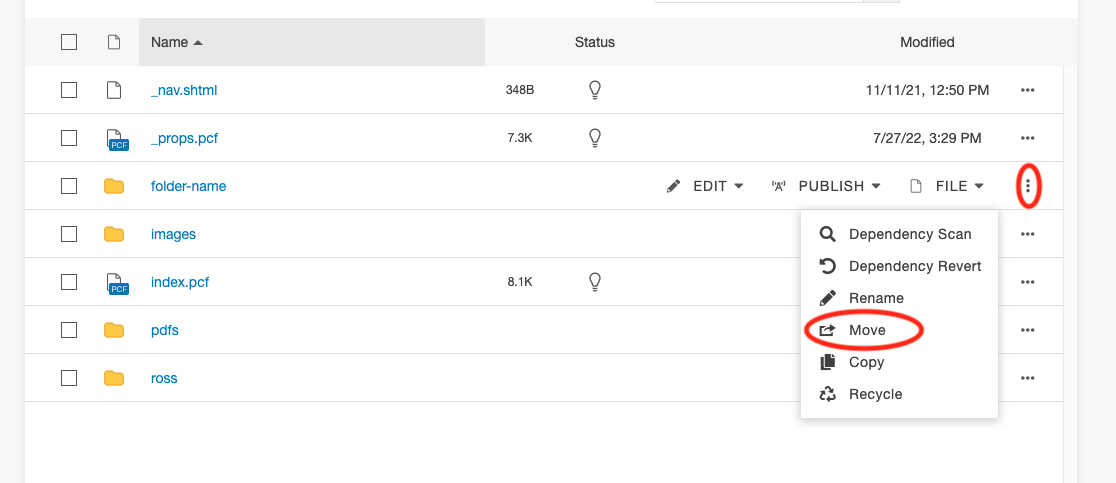
- Go to the Pages List View and navigate so you can see the folder listed.
- Open the More Actions menu (…) for the folder, go to File, and choose Move.
- Using the breadcrumbs across the top of the window go to the new folder.
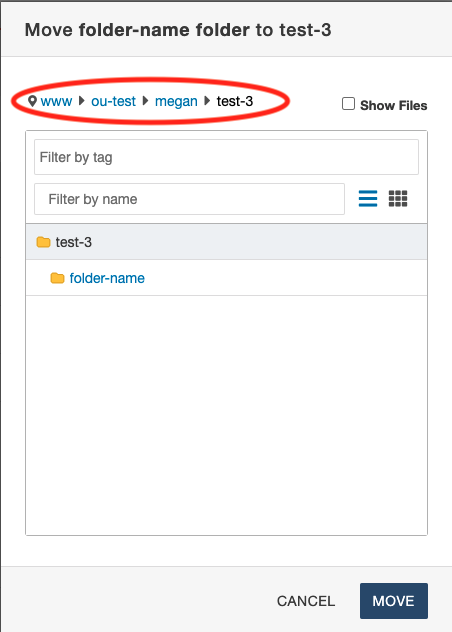
- Make sure the new parent folder is selected in the main window.
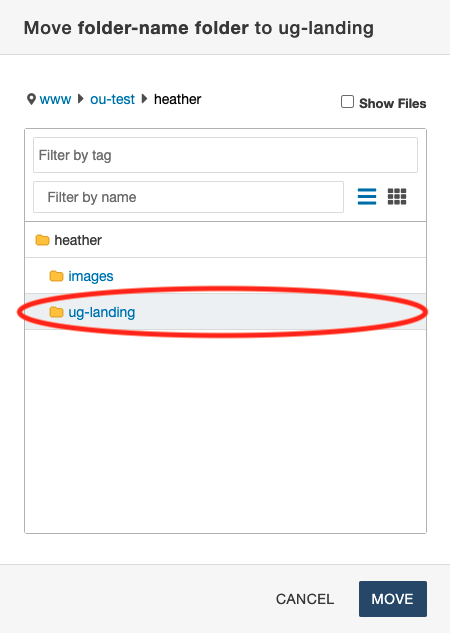
- Click Move.
Once the file moves, rename it if needed.
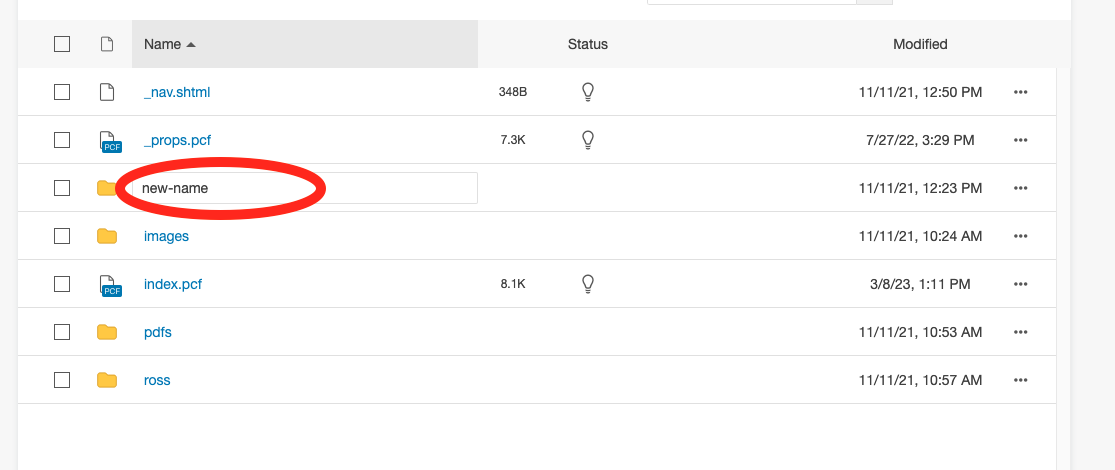
- Go to the Pages List View and navigate so you can see the folder listed.
- Open the More Actions menu (…) for the folder, go to File, and choose Rename.
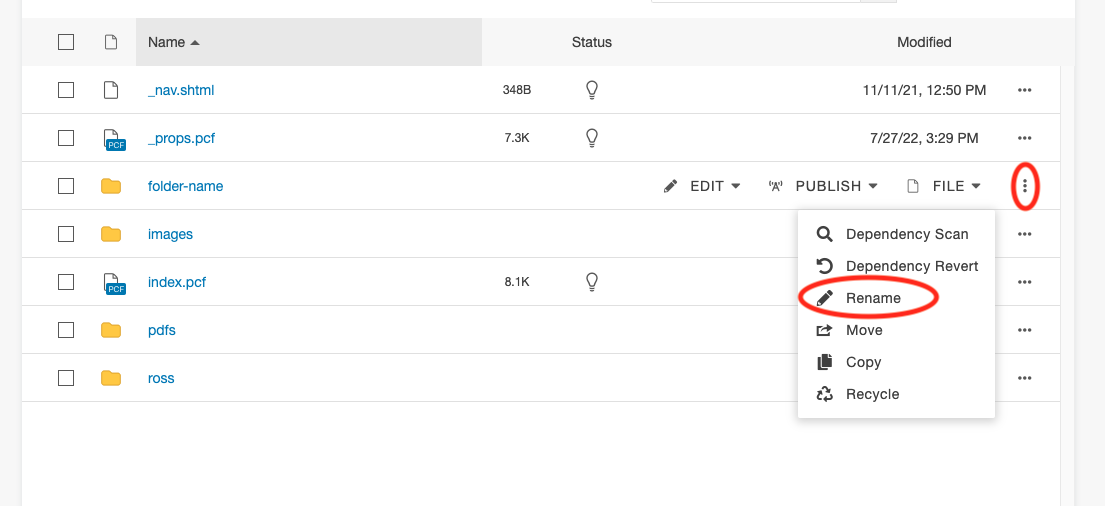
- Type in the new name for the folder using only lower-case letters, numbers, and hyphens and press Enter.
Once the folder has been moved and/or renamed be sure to publish all content within the folder. Also, be sure to make note of the old and new URLs for the redirects. You can figure out the new URL by going to the live website or based on the folder path: https://www.mtu.edu/site/folder1/folder2/.
Step 4: Review the Live Site
Don’t forget to review your live website to make sure that the navigation and pages appear as you expect them to!
Step 5: Request Redirects
Send an email to webmaster@mtu.edu to request redirects for all files that were moved or renamed, including any not listed on the sitemap. The old URL and corresponding new URL are needed. You can type out each old and new URL pair in the body of the email or you can send them in a Google Sheet with columns for the old and new URLs. Be sure to change the settings of the Sheet so that anyone with the link can access it.