Ally is a course accessibility tool that works within Canvas. It automatically scans Canvas course content and provides accessibility scores and feedback to instructors about specific accessibility problems, why they are important, and how to remove them. One valuable component of Ally is the course accessibility report. Let’s review this feature.
Overview
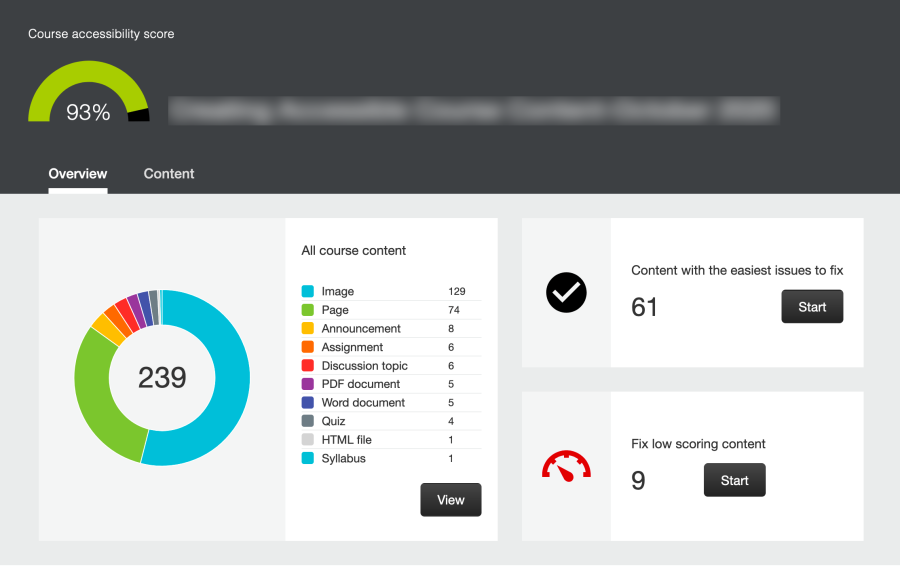
You access the Ally course accessibility report from the Canvas course navigation item on the left. The report has two main areas: an overview and a content detail page. The overview provides a comprehensive tally of all course content types including images, content pages, announcements, assignments, discussions, documents, etc. It also sorts course content into a group of easiest to fix issues, and a group with the lowest accessibility scores. These sorted groups help instructors prioritize items that can have the most impact for their students.
Content
The content view lists every item Ally has identified in your course and assigns it an accessibility score. These scores are reported as a percentage with an associated color-coded gauge.
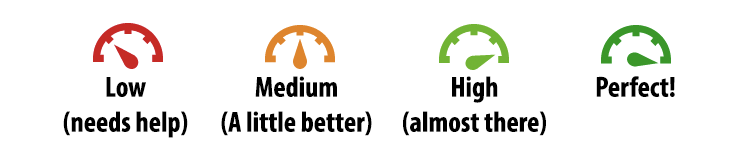
- Low (0-33%)- severe accessibility issues exist
- Medium (34-66%)- somewhat accessible but needs improvement
- High (67-99%)- file is accessible, but improvements are possible
- Perfect- no accessibility issues identified by Ally, but further improvement may be possible.
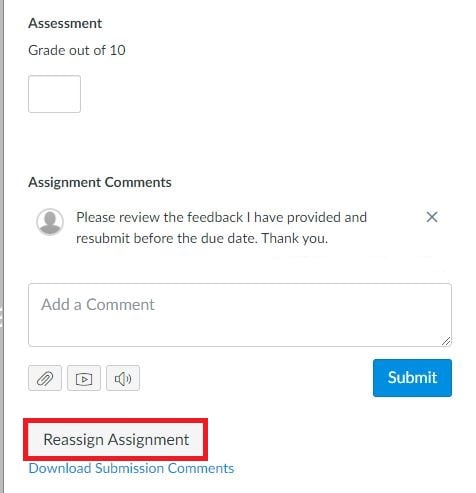
When you click on a gauge Ally opens a preview of the content item (when available) and provides a prioritized listing of all accessibility issues. Ally also provides guidance about what the issues mean and why they are important. In some cases corrections can be made directly within the Ally interface (such as adding alternative text descriptions for images), while in other cases you would need to correct problems in the source document directly. As you make improvements to your content Ally updates the accessibility score immediately.
It’s A Process
Improving access to your instructional materials takes time. Ally can help you prioritize your limited time to make the most impact on your course. While it’s easy to feel overwhelmed by the volume of problems Ally identifies, and you may not know where to begin, it’s important to just get started and make improvements. Over time this can have a big impact on your Ally course accessibility score, and, more importantly, remove digital barriers within your instructional materials so more students can use them effectively.
Check back for future posts about other valuable features of Ally in your Canvas courses.