Orientation and Welcome Week event submission reminder
Each year, Registered Student Organizations are invited to host events during Orientation Week and Welcome Week in order to introduce themselves to the campus community and welcome their peers to campus. The audience for Orientation Week is primarily first-year students, while events for Welcome Week should be designed for any member of the student body. This year:
- O-Week is August 23rd-28th
- Welcome Week is August 29th-September 5th
You must complete this form by April 13th in order to request to host an event during either week. Events planned through this form will be included in official Orientation or Welcome Week promotional materials.
K-Day Registration Now Open
K-Day is just around the corner on September 11th, and registration is now open! K-Day is an annual student involvement fair held at Chassell Centennial Park with food, fun, and music! Typically 3500-4000 students come out for this event. This is a fantastic chance for your organization to showcase what you have to offer and attract new members.
Use this link to sign up to table at K-Day. Please have your organization’s activity finalized before registering. Registration closes September 4th but space is limited so do not delay!
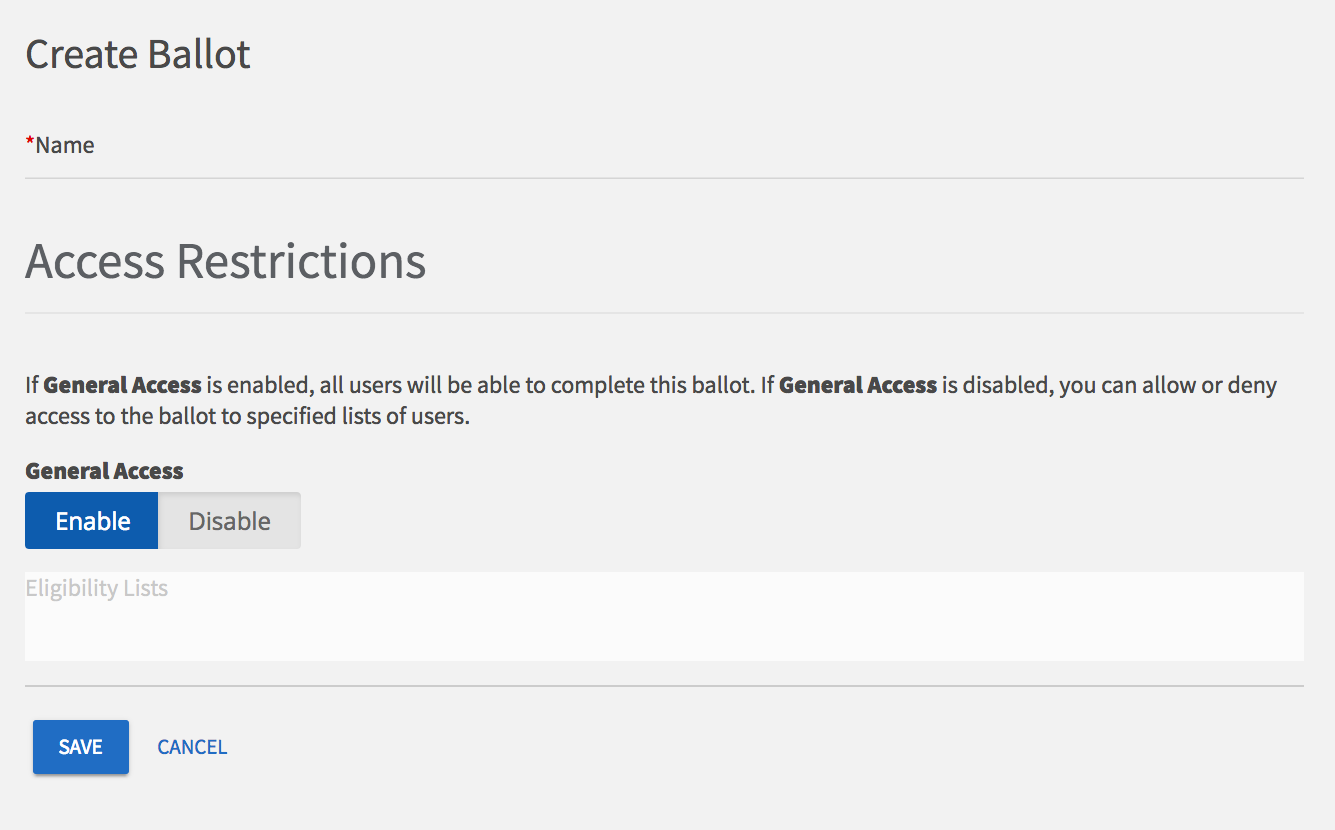
RSO Re-Registration
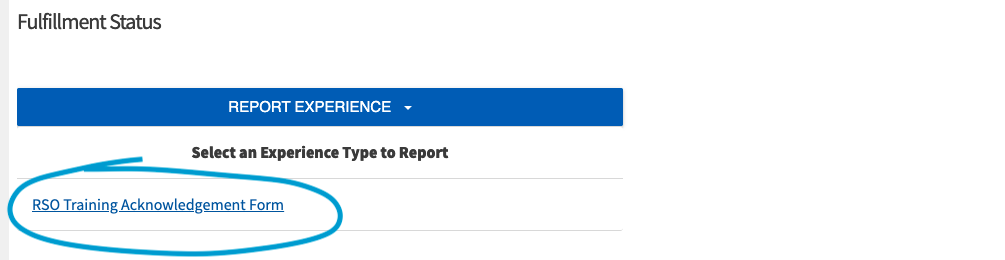
Every year, Registered Student Organizations are required to re-register their organization to maintain their registered status. Re-registration opens August 10th at 9:00 AM. Required officers (President, Treasurer, Secretary, and Advisor) must complete the training on Canvas. Your organization’s president must also complete the re-registration form on Involvement Link. All officer training and the re-registration form must be completed by September 25, 2026, by 5:00 PM. Failure to complete your training on time will result in a decrease in your organization’s budget for this academic year and a potential loss of privileges granted to registered groups. Please see the schedule below:
You will receive 100% of your allocation if registered by 09/25/26 at 5pm.
You will receive 90% of your allocation if registered by 10/2/26 at 5pm.
You will receive 75% of your allocation if registered by 10/9/26 at 5pm.
You will receive 0% of your allocation if registered after 10/16/26 at 5pm.
You will lose all funding and RSO status if not registered by 10/16/26 at 5pm.
Please note: All officers and advisors will be removed from the Canvas training before Re-registration, so the training can be updated and old officers removed. All current officers and advisors will be re-added to the new training at the beginning of re-registration. Every officer and advisor must complete the training every year during Re-registration.
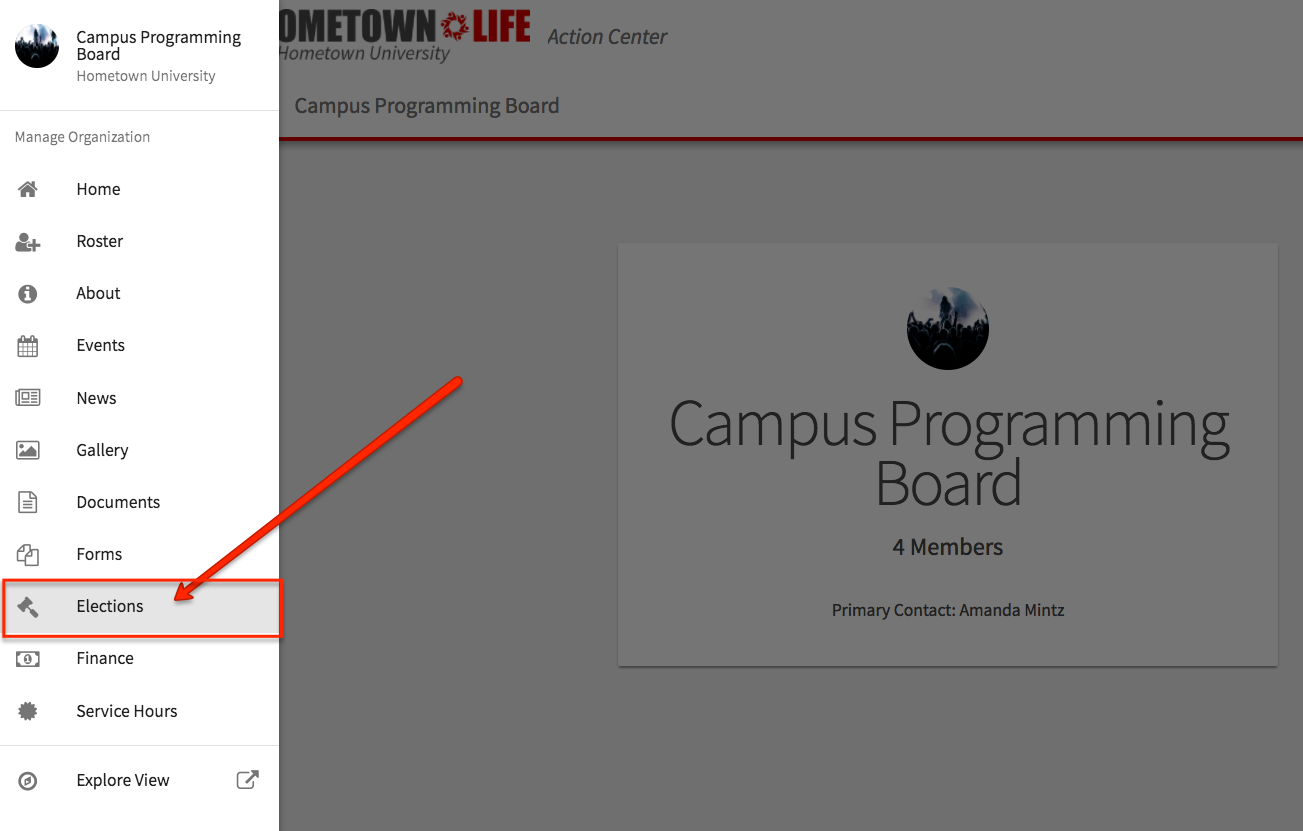
Update Officers on Involvement Link
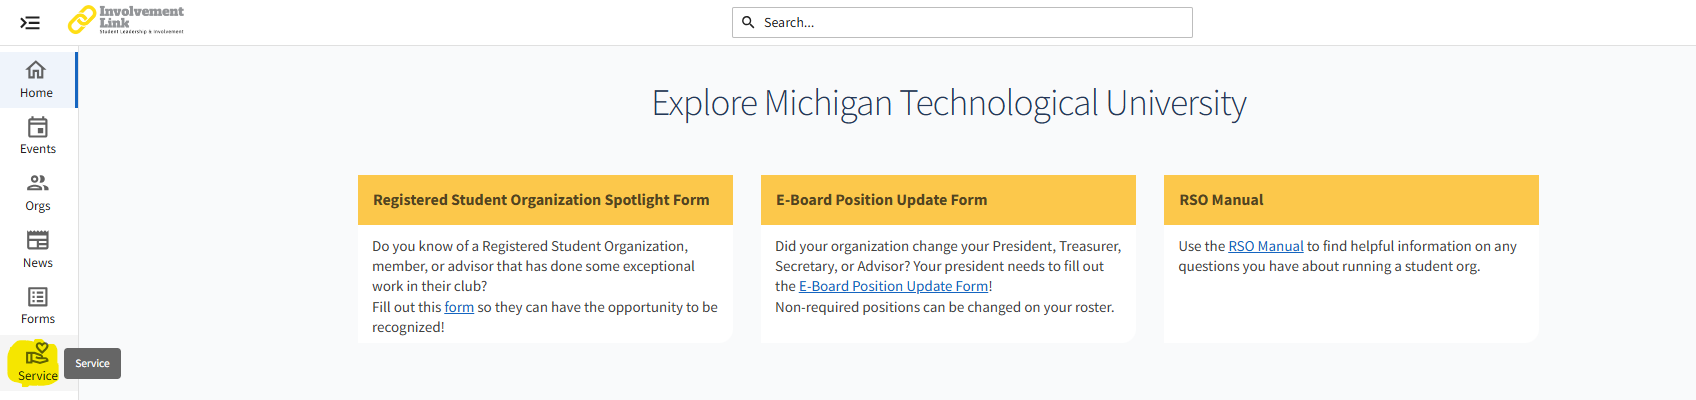
As we approach RSO Re-registration, it’s crucial to update your organization’s officers on Involvement Link. If the officers or advisors are not accurate on Involvement Link, the wrong people will get your re-registration information and training. To update your officers or advisors on Involvement link, presidents are required to fill out our E-Board Position Update Form.
Please note: Only required officers (President, Treasurer, Secretary, Advisor) need to be added through the form. Organization-created positions can be updated directly on Involvement Link.
Advisor Appreciation Day – April 21st
April 21st is National Advisor Appreciation Day! In recognition of your dedicated advisors, we would like to invite you to pick up a thank you card (or multiple if you have multiple advisors!) from MUB 106 on top of the mailboxes to be signed by your organization’s members or executive board. This is an opportunity for you to express your gratitude for the guidance and support your advisors provide.
Cards can be returned to us in MUB 112 to be mailed or we invite you to deliver them in person! We encourage each of you to take a moment to acknowledge and appreciate your advisor for their commitment to your RSO.
Other Important Information
- Purchase Requests for this fiscal year are due by April 12th! If you anticipate needing to make purchases after that date, but before the start of the school year, you must complete the summer RSO spending form.
- Check your MUB 106 mailbox! ALL ORGS have a mailbox! Please clean out your mailbox before leaving for the summer.
RSO Memories/Testimonials
Do you have a favorite memory or a positive story from your time with your RSO? We would love to hear it! Share your experience using our RSO Memories/Testimonial Form. Your submission may even be featured on our website and social media!
Prep for Recruitment Now!
Summer orientation sessions are fast approaching! That means incoming students are going to be scrolling on Involvement Link to learn about all the organizations Michigan Tech has to offer.
Before you leave for the semester, don’t forget to freshen up your about page. Our top three suggestions are:
- Lead with your purpose, but clarify your process! Many “about” pages only describe the organization. That’s great, but many students’ next question is how to join. Let them know the best way to get on the mailing list, added to the roster, or when they can join you for your next event!
- Add links to your socials or post some pictures, so students know what it looks like to be a member of your organization.
- Make sure your main contact email is up to date and able to receive communications. Some groups put an organization list-serv, but it is only set up for internal communications. Make sure interested students can contact you if they want to learn more!
If you want a bonus fourth suggestion, add a bit of news! How would you summarize the year, what are your goals for next year, etc. This would be a great way to keep a written and public record of your organization’s happenings.
The MUB has space for your RSO!
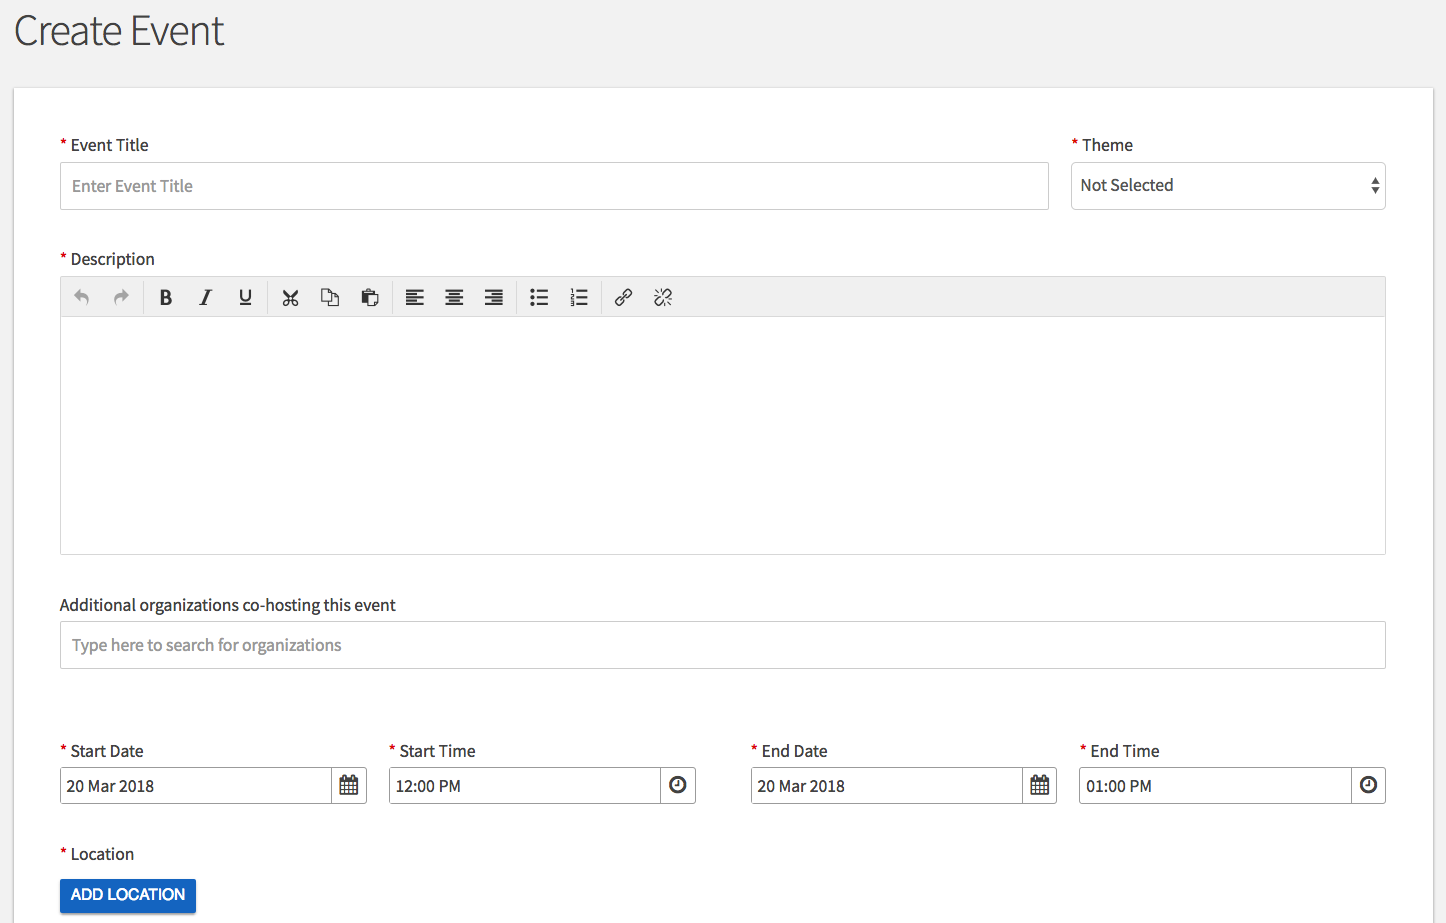
As you begin planning events and meetings for next semester, this is a friendly reminder that Memorial Union Building (MUB) spaces are available to reserve now. In most cases, MUB spaces can be reserved up to one year in advance. To submit a room request, please use the MUB reservation request page here. Not sure how to fill out the form? Follow this guide! Have questions? Email mubrooms@mtu.edu for support! If you have any further questions or need additional support, don’t hesitate to reach out to our team or stop by during our office hours. Thank you, the MUB looks forward to hosting your organization!