You can upload files to the CMS that can be linked to on a webpage. Types of files you can upload include audio, video, PDFs, Microsoft Office files, and more. These files have a size limit of 20MB each. After uploading, you must publish the file.
This process should not be used for images. Instead, use the Image Editor sidebar gadget.
According to Michigan Tech policy 1.15, all files made publicly available on our websites, including PDFs, must be accessible. Additional information about accessible documents can be found on the Accessible Technology website Guide to Accessible Documents or by requesting help from the accessible technology coordinator.
Upload
There are two ways you can upload a file.
Within an Editable Region
While you are editing content in an Editable Region you can upload files.
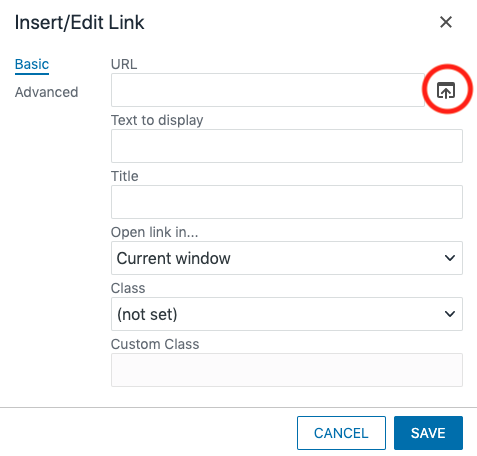
- Highlight the text that will be linked to the file.
- Click the Insert/Edit Media button for a video or the Insert/Edit Link icon for other file types.
- Click on the file icon next to the URL field.
- Select the location where you want the file to be saved, if other than the folder you are currently in.
- Click the Upload button at the top of the window.
- Access Group should be the default of (Inherit Existing).
- Click the +Add or drag your file from your computer to this window (skip the next step if you drag and drop).
- Select the file from your computer.
- If the filename does not meet the requirements of only lowercase letters, numbers, no spaces, and no special characters except hyphen (-) it will appear in red.
- Click the More Actions menu and select Rename to change the name it will have in the CMS.
- Be sure to keep the .pdf or other file extension at the end of the filename.
- Press enter or click outside the box to save the change.
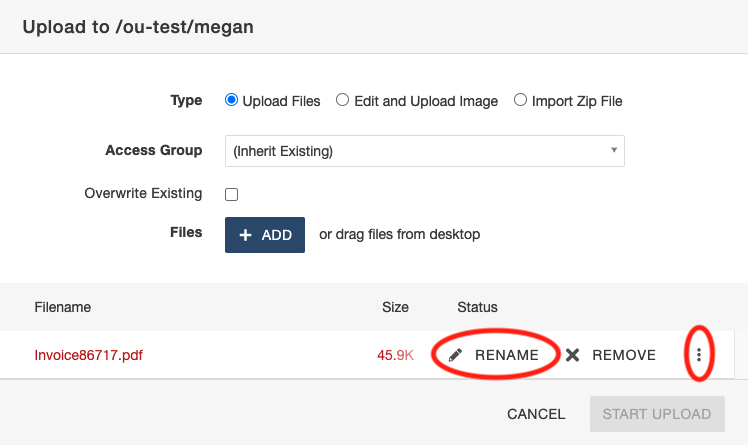
- You can add multiple files at one time.
- When all files are added click the Start Upload button.
- You must return to the Pages List View to publish the files you uploaded or make sure the Include Unpublished Dependencies box is checked when the page is published.
Files Editable Region
Pages List View
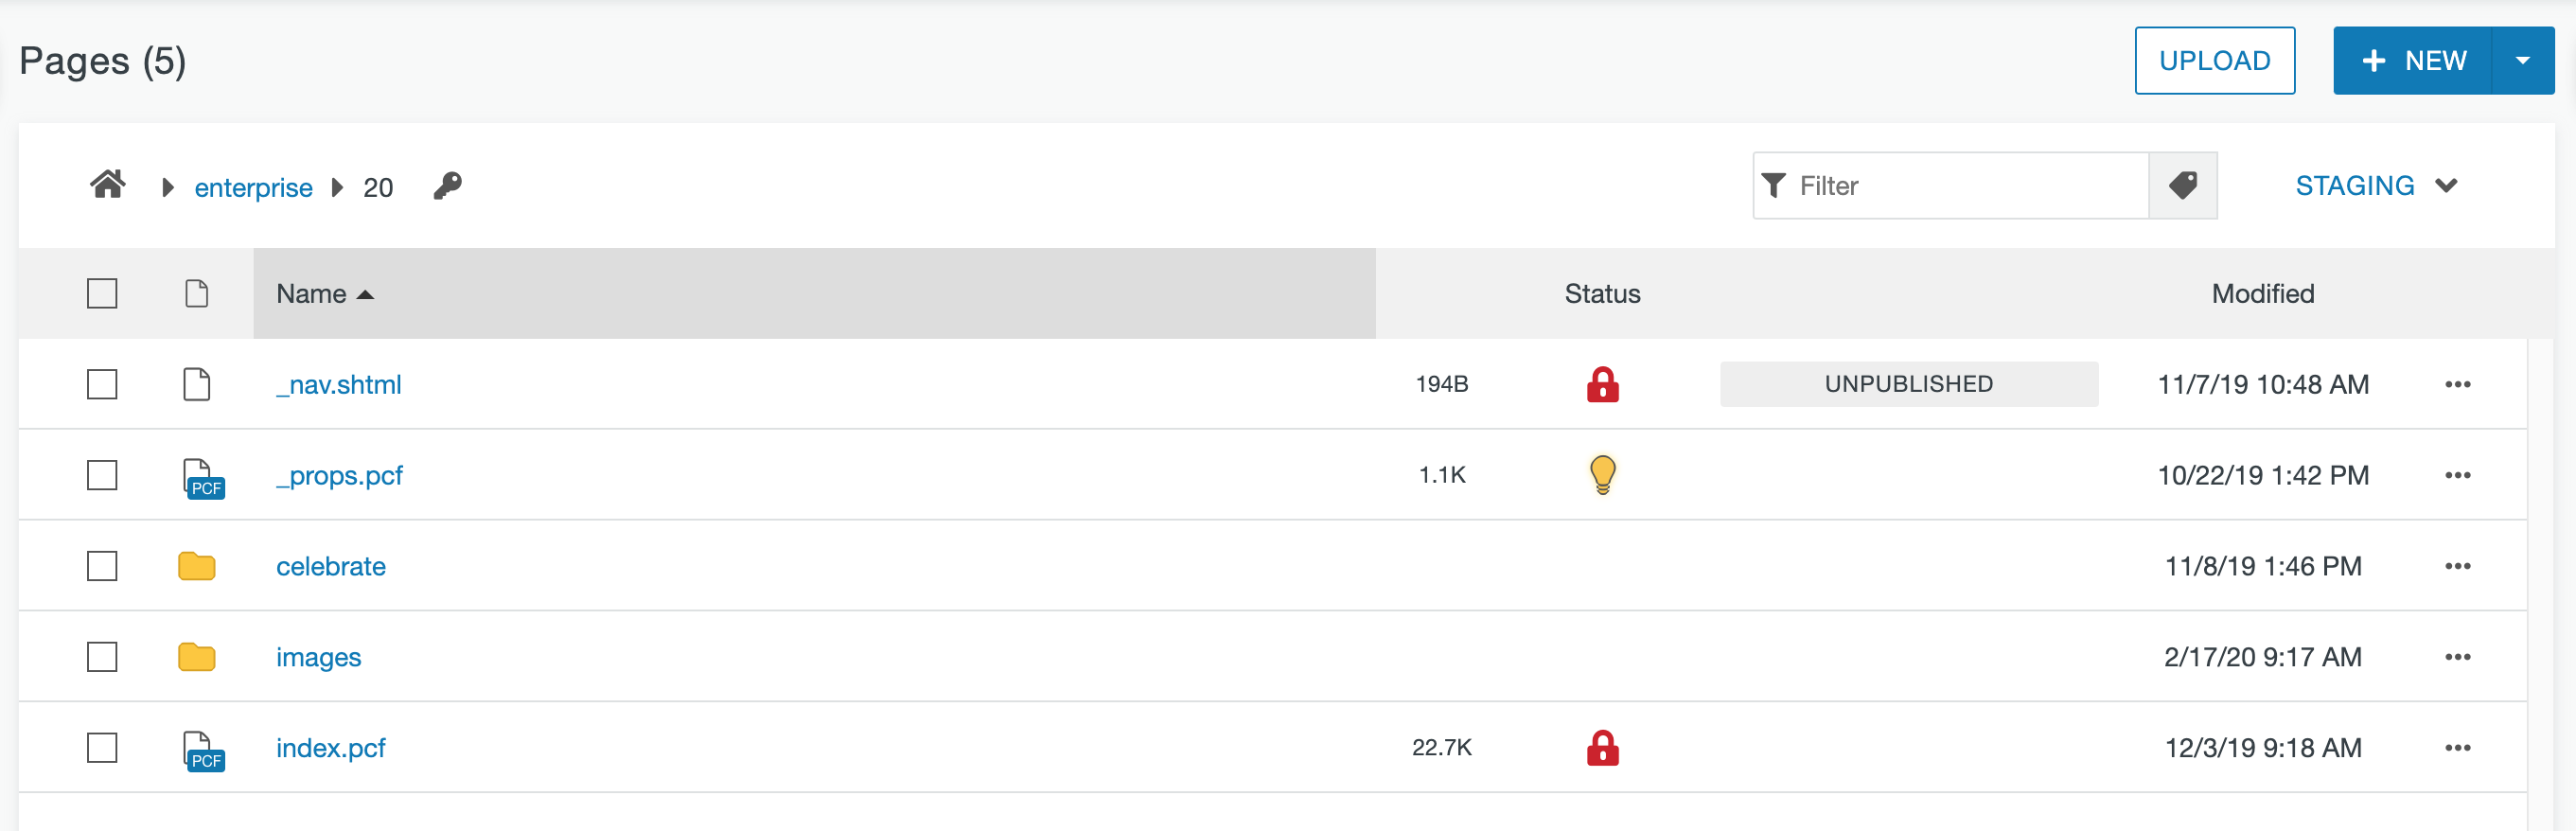
- From the Pages List View navigate to the folder in which you want the file to be stored.
- You can simply drag a file from your computer to the screen.
- Look for the dashed lines around the workspace and release the mouse button.
- The file on your computer must already meet naming requirements for this to work—only lowercase letters, numbers, no spaces, and no special characters except hyphen (-).
- You can also click the Upload button at the top of the screen.
- Follow the same instructions as with the Editable Regions method.
- Publish all of the files you uploaded.

Files Pages List View
Replacing a File
To replace an existing file with a new version, you will overwrite the existing file in the CMS. This will maintain all existing CMS links to the file along with bookmarks and search results.
- In Pages List View, navigate to the folder where the current version of the file is.
- Click the Upload button.
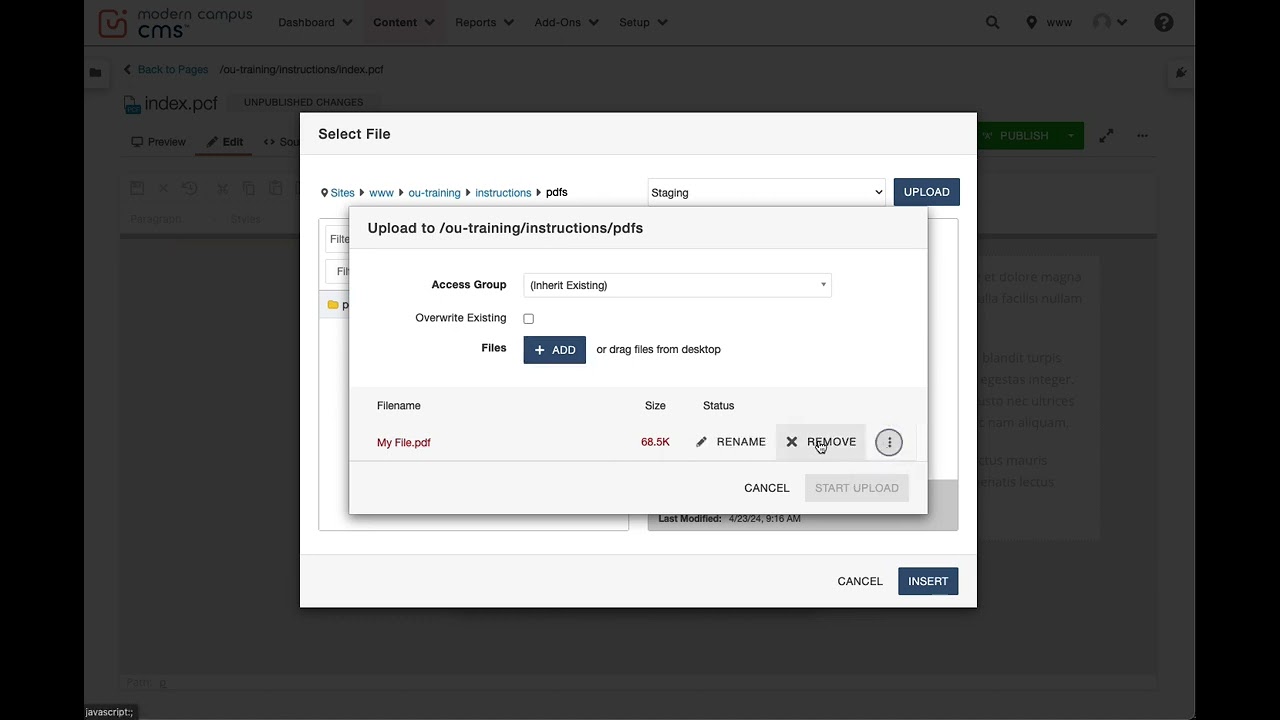
- Click the Add button.
- Select the new file from your computer.
- In the Upload window be sure the file is named the same as the existing file that is being replaced. You should see an error that says the filename already exists.
- If it is not, click the More Actions menu and select Rename.
- Type in the correct name, making sure to keep the extension at the end, and press enter to save.
- Select the Overwrite Existing checkbox to replace the file.
- Click Start Upload.
- Publish the file.
