The Google Calendar makes it easy for you to invite Graduate School staff to a meeting.
To start, log into the Google Calendar with your full MTU e-mail address and password.
The Google Calendar makes it easy for you to invite Graduate School staff to a meeting.
To start, log into the Google Calendar with your full MTU e-mail address and password.
Canvas is the learning management system that Michigan Tech uses for classes, and the Graduate School uses to collect theses, dissertations, and reports. This post will explain how to submit an assignment for the Graduate School.
First, log into Canvas with your Michigan Tech ISO ID and password (the same one you use to access Banweb or your e-mail).
Microsoft Word has a “feature” that compresses your images to 220ppi after saving. This saves file space for your documents, but images at this resolution do not meet Graduate School requirements for printing. This tutorial will show you how to turn off this feature for a single document.
We recommend doing all image editing in a program dedicated to that purpose, such as Photoshop, before inserting images into your Word document. Images must be at least 300ppi unless they are screenshots. Screenshots are only allowed when absolutely necessary to convey the information. All images must also be clear and readable. Increasing the resolution of a low resolution image to 300ppi will not be acceptable.
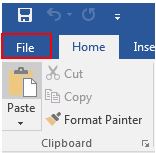
First, click on the File Button and select “Options” from the left hand menu.

Preflight profiles in Adobe Acrobat® Pro can be used to check properties of a PDF document, as well as make some automatic fixes to them. In this tutorial, we’ll show you how to use preflight profiles developed by the Graduate School to check the image quality in a PDF file.
To begin, download a preflight profile and save it to your computer. Depending on your browser settings, you might need to right click on the link to save the file to your computer as a *.kfp (or*.xml) file. The Graduate School has created the four below:
First, you need to open the preflight tool. In Adobe Acrobat® XI Pro, the preflight tool is located in the “Print Production” section of the “Tools.”
When the built in styles don’t meet your needs for formatting paragraphs in Word, you will need to create your own styles. In this example, I will create a style for my paragraphs that contain equations.
Styles apply a common set of formatting to a paragraph within Word. In a previous post, we showed how to apply a style to a paragraph. This tutorial will show two ways to edit an existing style.
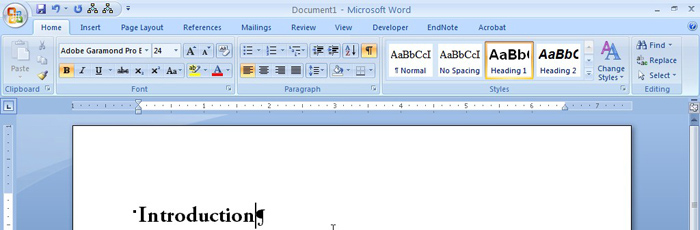
First, edit the text as you desire. In the example below, I have edited the text “Introduction” to be a different font (Adobe Garamond Pro Bold) and size (24 point) than the original Heading 1 style. We can tell Heading 1 is applied to this text because it is outlined in orange in the Style section of the ribbon.
Styles in Word are used to format text consistently throughout your document. Each paragraph may have a single style applied to it. For each paragraph, styles define the:
Styles are found on the Home tab of Word, in the Styles section (boxed in the figure below).

For your thesis or dissertation, you must either present all pages in portrait orientation, or list all of the landscape pages on the Degree completion form. If you have many landscape pages, it may be easier to rotate the pages in the pdf than list all of the pages one by one.
This tip requires Adobe Acrobat, and applies to either a single sided or double sided document.
Having the correct paper size and page number location is an important part of preparing a thesis or dissertation. Adobe Reader and Acrobat have tools that will help you verify these elements of your document.