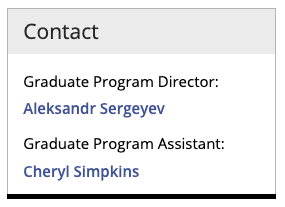
This snippet creates the Contact boxed sidebar for Graduate Program Directors and Graduate Program Assistants. Using the snippet keeps the formatting consistent across all departmental graduate program pages.
This snippet is no longer available. You should use the Row w/ Left Image snippet instead.
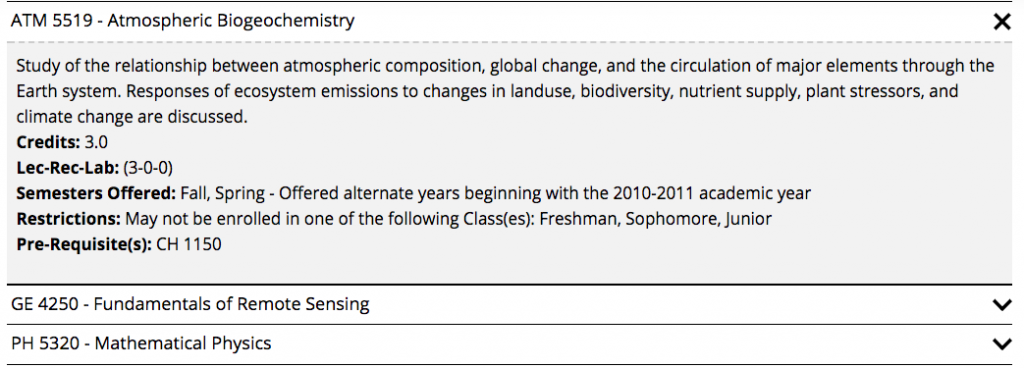
This snippet is used to pull course information from Banner and manually display it on the page in sliders. This is normally used when there are courses from multiple departments listed and you cannot just link to the department’s Banweb course listing page.
This snippet creates a formatted blockquote that includes the quote and the author. View the blockquote in the Style Guide.
This is an example of how you can include an image at the top of your blog post to simulate the banner image at the top of a CMS webpage. Make sure your image is horizontally oriented and at least 1024 px wide. When inserting the image into your post, select the Large version and do not include a caption. You will need to sign into the VPN when uploading images into WordPress from off campus.
Today we’re launching our new headers and footers. For many years now, we’ve offered our headers and footers as iframe codes, which worked well, until our new template came along in 2016. The new brand brought in different dimensions, styling, and navigation. This caused us a bit of trouble as the new dimensions and functionality would not work with the iframe setup found across various Tech-associated properties. This led us to seek out a new, long-term approach for headers.
Problem
Iframes are an easy way to embed pieces of content from other websites. However, they are limited in their integration with subpages. Our main issue dealt with height: all iframes were locked at 100px high. Whereas the new header changes in height depending on navigation type, and if the header is loaded on a mobile device. The same issues were found on the footer as well; the footer iframes simply can’t show enough detail, leading to contact information and other relevant links being cut off.
Solution
Use JavaScript! The new headers and footers are built with JavaScript which solves the issues mentioned above. The new headers allow you to have our horizontal navigation found throughout Tech’s site; you can pull in navigation from the CMS or build your own. Customize the navigation font size, the header type (same as before: mini, logo-only, full), custom search location, and to follow Tech’s main template: fixed header to stick to the top. Footers ship with the default contact information for the university, but information from a CMS site or custom contact information can be fed in.
Integration
Set up your new header or footer starting here. Then, copy the HTML/JavaScript snippet into where the banner(s) should show on your page. If you used our iframes in the past, you can just replace the iframes with your new snippets. And that’s it! Nothing difficult, but now you have a header or footer that follows the same style and technical build of the CMS banners. If you have any questions, please feel free to email webmaster@mtu.edu.
Michigan Tech faculty, staff, and students win numerous awards each year. UMC has been asked to recommend a template for promoting award winners on departmental and academic websites.
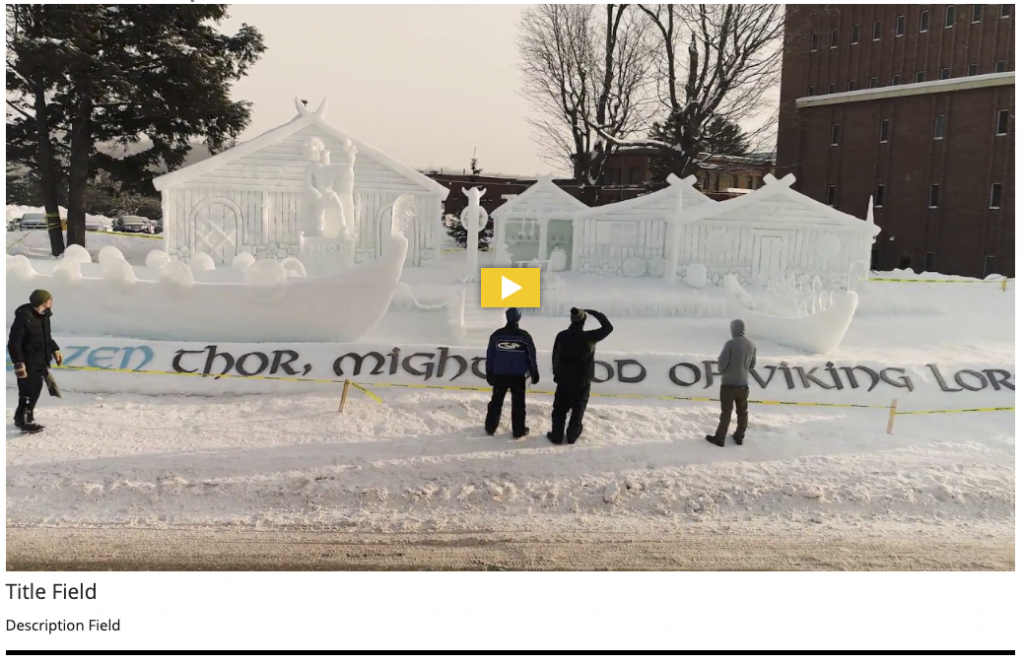
This snippet creates an embedded video or 360 image in your page’s main content area, additional content area, or right sidebar. To include a video at the very top of the page (known as the mediazone or hero area), follow the instructions for MultiEdit Content.
The size of the video/image will automatically adjust based on the location you insert it. A title and description can be included beneath it.


