
There are several assets created and maintained by University Marketing and Communications, described below, that can be used on your website. As the data included in these assets changes, we will update them and the updated information will automatically update on any pages where the asset is used. Check back as this list gets updated as new assets are added. Suggestions for new assets can be sent to webmaster@mtu.edu. These assets will all begin with [Global].
Assets are pieces of content that are saved in a central location that can be used on multiple pages or on multiple sites. They should be used when you have identical bits of content on more than one page. If the asset content is changed, that change is applied to all pages using it. You do not have to try and find all the pages with certain content or risk missing a page and having conflicting/different information across your website.
Play Asset Introduction video

Asset Introduction
You can upload files to the CMS that can be linked to on a webpage. Types of files you can upload include audio, video, PDFs, Microsoft Office files, and more. These files have a size limit of 20MB each. After uploading, you must publish the file.
This process should not be used for images. Instead, use the Image Editor sidebar gadget.
All images are created in the CMS using the Image Editor gadget. You can crop specific sizes using the gadget, insert the cropped images in pages, and replace existing images. The image editor will automatically optimize and publish the images. Make sure the image that you’re uploading is less than 25 MB so that it is able to be used in the editor—when downloading a file from the UMC photo database, select the 4800 px option. All images used in the Image Editor must be RGB format, not CMYK.
This snippet inserts linked social media icons onto the page. It is frequently used in the heading of the RSS Feed or Top Title with More Links snippets or in the Footer Social Icons region of the root props file.

This snippet has been replaced with the Accordion Snippet.
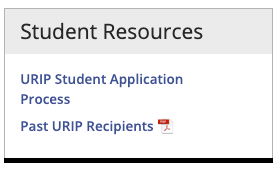
This snippet creates a shaded sidebar with a border and highlighted heading area.
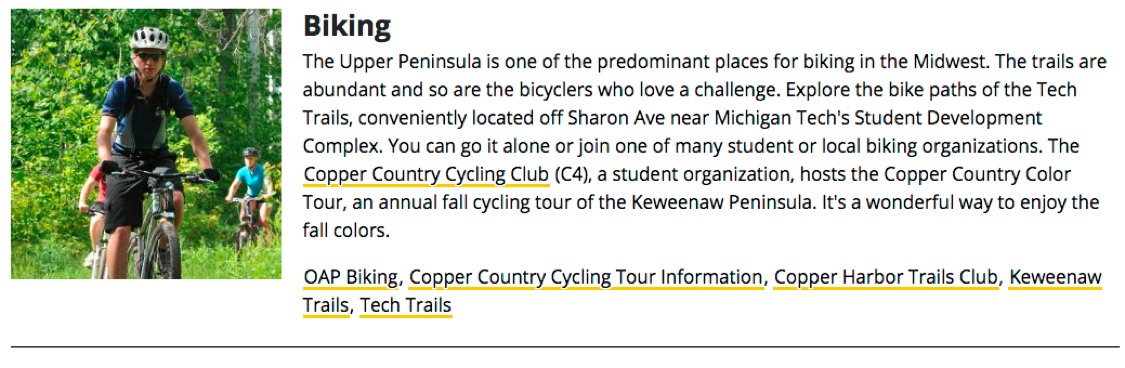
This snippet creates a layout with an image or an image and text on the left and heading/text on the right. You can choose whether or not to wrap the text on the right around the left content and whether or not to include a horizontal rule on the last item in the snippet.
This snippet is no longer available. Instead, you can use the Image with Caption snippet (even if you don’t have a caption!) or link text directly to the image.
To create a new page or section,
- From the Pages list view navigate to the folder in which you want to create the new content.
- Click on the +New button at the top of the page.
- Select the type of item you want to create.
If you are creating a tab level folder that will not have a landing page, you should still create a New Section, not just a Folder.