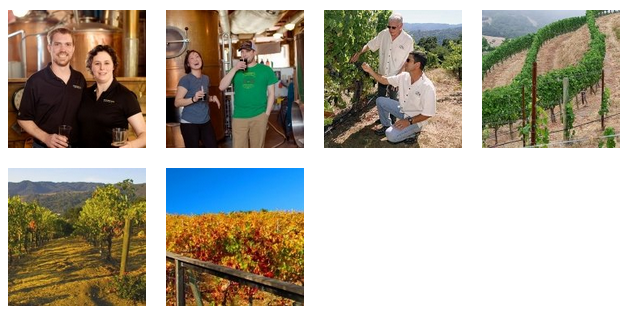
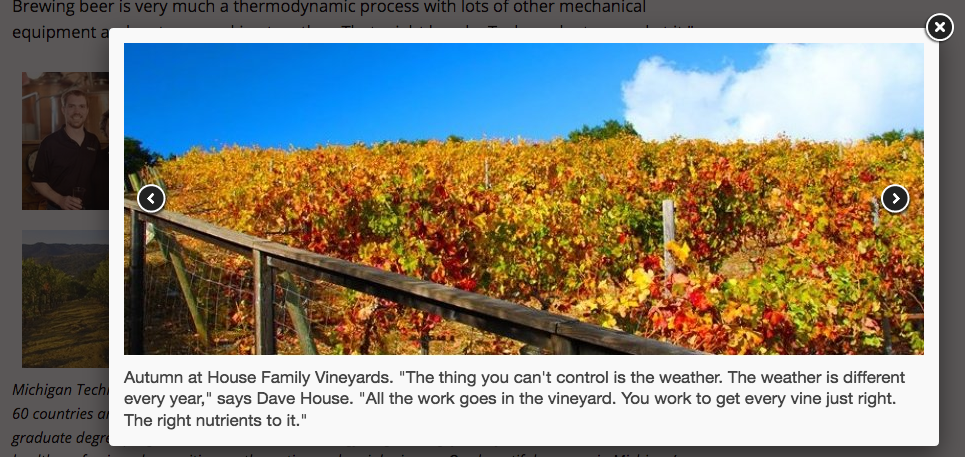
This snippet will create a grid of thumbnail images that pop up into a scrollable gallery when a thumbnail is selected or a gallery of larger images that the user can scroll through that also pop up into a larger image. For the thumbnail option, only the pop-up image will display the title caption, but they will be displayed on the page for the gallery option.
All images are created in the CMS using the Image Editor gadget. You can crop specific sizes using the gadget, insert the cropped images in pages, and replace existing images. The image editor will automatically optimize and publish the images. Make sure the image that you’re uploading is less than 25 MB so that it is able to be used in the editor—when downloading a file from the UMC photo database, select the 4800 px option. All images used in the Image Editor must be RGB format, not CMYK.
While this functionality is still available in Modern Campus CMS, we have created the Image Gallery snippet that is simpler to use instead.
Default (Gallery Layout)
The Properties button in the Page Actions Toolbar near the top of the page contains information about the page. You must have the page checked out to you to see all the options.
MultiEdit Content is where you will set up the header image if you have turned it on in the Parameters. Select the MultiEdit Content option from the left menu in the Properties screen or by using the MultiEdit button at the top of the page edit screen.
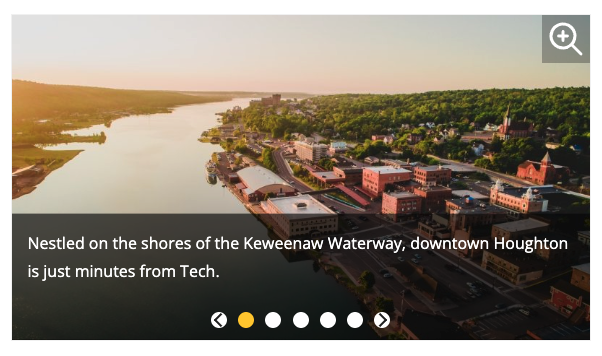
This snippet will create an image with text beneath it. The image can be left- or right-aligned so body content wraps around it if it is not the full content area width or center- or left-aligned with no wrapping. If you have cropped an 800 size or larger of the image, the system will automatically include a pop-up of the captioned image.
The Image Editor Gadget in the CMS will crop, compress, and optimize the images you create for your webpages. There is also code on our pages that serves up the most appropriate size of the image crops for the device being used. All images used in the CMS should be created with the Image Editor Gadget to ensure this code and the snippet code work, provide standard image sizes across our sites, and improve page speed and performance.
Alt tags (also known as Image Descriptions or alt text) are very important for the accessibility of your webpage. Moz does a good job of explaining what alt tags are. Please take a moment to read up on what alt tags are and why they are important. Moz also provides some tips for how to write good ones.
There are many uses for alt tags. The most well-known ones are:
- Screen readers will speak the alt tag of an image for users who cannot see.
- If an image cannot be loaded due to some sort of network or IT error, the alt tag will display instead.
- Alt tags boost search engine rankings and can help your website’s images display in Google search results.
Size


The Properties button in the Page Actions Toolbar near the top of the page contains information about the page. You must have the page checked out to you to see all the options.
The Page Parameters section, which can be selected from the left menu or in the Page Parameters Gadget, contains the following options.
